Remove background from photos and images with any one of these 3 different methods or techniques: Canva Pro (easiest), Photoshop (best quality), MS Word (crazy right?).
This post may contain affiliate links. I may make a small commission if you purchase from my affiliate link at no extra cost to you. All my affiliations are hand-picked with the utmost sincerity. Read more about it here: Affiliate Disclosure
Remove Background in Canva Pro
Canva offers both free and Pro services, and one of the best features of Canva Pro (worth the money) is their nifty Background Remover option. Really, this is the way to go if you want something user friendly and quick, which is ideal for situations where you are going to be bulk creating content for social media and blogs. I would not trust this as a method for creating PNGs you plan on selling.
Basically, go to effects. Click Background Remover.
Step 1: Place photo you want to remove background into your Canva document and Click on the photo.
Step 2: Click Effects
Step 3: Click Background Remover
Step 4: Adjust if need be
Step 5: Click away and let it think for a second and auto save.
Note: You probably want to do this part first before making adjustments to the photo. Sometimes the adjustments go unsaved after Effects or Filters are placed.
Remove Background in Photoshop
There are many ways and options to remove a background in Photoshop, and a lot of it depends on the situation. It truly is an art in of itself.
Basically, you select art and delete the background.
The best first step though is to double click the background layer and make it Layer 0 (unlock it), and then make a copy of that layer (drag the layer to the plus sign in a box). Then I work off of copies. I like to keep the original art at the bottom, and turn off its eyeball. You know, in case I make more mistakes than I can undo, or in case I change my mind and want various versions to decide the better one.
The Background Eraser & Magic Eraser Tools
I’ve only seen this in the newer Creative Cloud version of Photoshop, but apparently, if you click on the eraser tool, hold down that little arrow to get more options, there’s a background eraser and a Magic Eraser. It also has tolerance options, and that’s important.
I often attempt this first, playing around with the Tolerance numbers. 32 is the normal beginning number to try.
With the Background Eraser, you set your brush size, sampling options (continuous, once, background swatch – which I usually choose once for a solid color background), and your tolerance (32 is a good start to play with), and then start erasing.
With the Magic Eraser, you basically click the background, and it will erase all or a portion of it. You can also play with the tolerance.
Selection Tools
This is inevitably how I end up starting to attempt removing background. The idea is you select the background and delete. OR you can select the object, invert selection, and then delete.
You have so many selection options though.
You can do the shapes, the lassos… and then there’s the Object Selection, Quick Selection, and Magic Wand.
I like to attempt the Magic Wand first, and tweak it with Quick Selection playing with the plus and minus buttons.
If I can get the entire object selected (or the entire background around the object), I like to then move to the next batch of selection options…
Instead of going to the tools on the left, you go to the options on the top, choose SELECT, and then MODIFY selection (it was called Refine Edges in the older versions I believe). And you can choose between Border, Smooth, Expand, Contract and Feather.

I like to get rid of the colorful edges of light bouncing off of objects that interfere with the realistic nature of placing it on a different background. So I Expand (if I selected the area around the object) or Contract (if I selected the object), set to 5px. Then I smooth at 5 pixels, and then I sometimes feather at 5 pixels if I want a slightly opaque edge. If I want a sharp crispy edge, no feather. If the background has a color that’s going to shade the edges a bit, you may want to contract/expand more like 15 pixels (to, let’s say, avoid getting a blue border around a yellow object for a pic of a flower and sky).
If I have the object selected, then I also go to SELECT and then INVERSE to select the area around the object.
Then I hit delete on the keyboard. I supposed you could go and erase with the Eraser Tool.
BUT YOU REALLY WANT TO LEARN ALL THE SELECTION OPTIONS IN PHOTOSHOP IF YOU WANT TO BE GOOD WITH PHOTOSHOP
I cannot stress that last bit enough. There are so many ways to select, refine, and select.
SELECT and COLOR RANGE is a great way to select just certain colors, and is often a great way to select subjects with hair if you WANT to keep the fly aways. I prefer to delete those with my hair personally. “From Crone to Prom Queen thanks to Photoshop!”
Some people often select the object, and instead of “deleting the background,” they click “Create Layer Mask” which is under the layers panel, and it’s a rectangle with a circle cut out of it, and that will pretty much do it too.
Caution: when using the selection tools, if you erase a selection, and then select next to it, and erase that, there’s usually a very fine line between sections.
Manual Erasing
Sometimes the only way you’re going to get her done to your standards is to pick the eraser tool, adjust the brush sizes, and zoom in and start erasing your line. Then zoom out a bit, and erase a medium sized border around that. Until you can just erase or delete the background.
And with this, you may decide to draw / paint parts of the image to make more sense. Or Clone Tool to paint. Or Content Aware Fill.
Photo Adjustments
Sometimes it helps to adjust the photo before attempting erasing techniques. I’ve been known to duplicate the layer, and adjust the curves to a considerable exaggeration, and then select pieces that way and delete from the layer that I want to edit. So basically, I make a layer for selecting, and then switch to the layer to delete.
Levels are also a good one to play with. You can also attempt increasing contrast, desaturating or saturating, etc.
Check Your Work
This is like a super bonus trade secret here…
After I think I’m done erasing a background, I like to add a layer at the bottom, color fill it a dark color almost black. And then look for blips there. Then I repeat with white. And look for blips there.
THEN.
I double click the layer of my art, and I ADD STROKE. It doesn’t matter what color, but check the image with a super huge size stroke to see if any thing gets stroked that needs deleted or erased. Also go back and do a super small stroke, zoom in, and check your edges to see if anything stroked there that you want to remove. You also want to make sure there’s no strange dots forming around the edges. So you may erase a little further into the object to get a nice stroke there.
Then go back and turn off the stroke.
Make sure you save as a png if you want a transparent background.
Remove Background Hack in MS Word
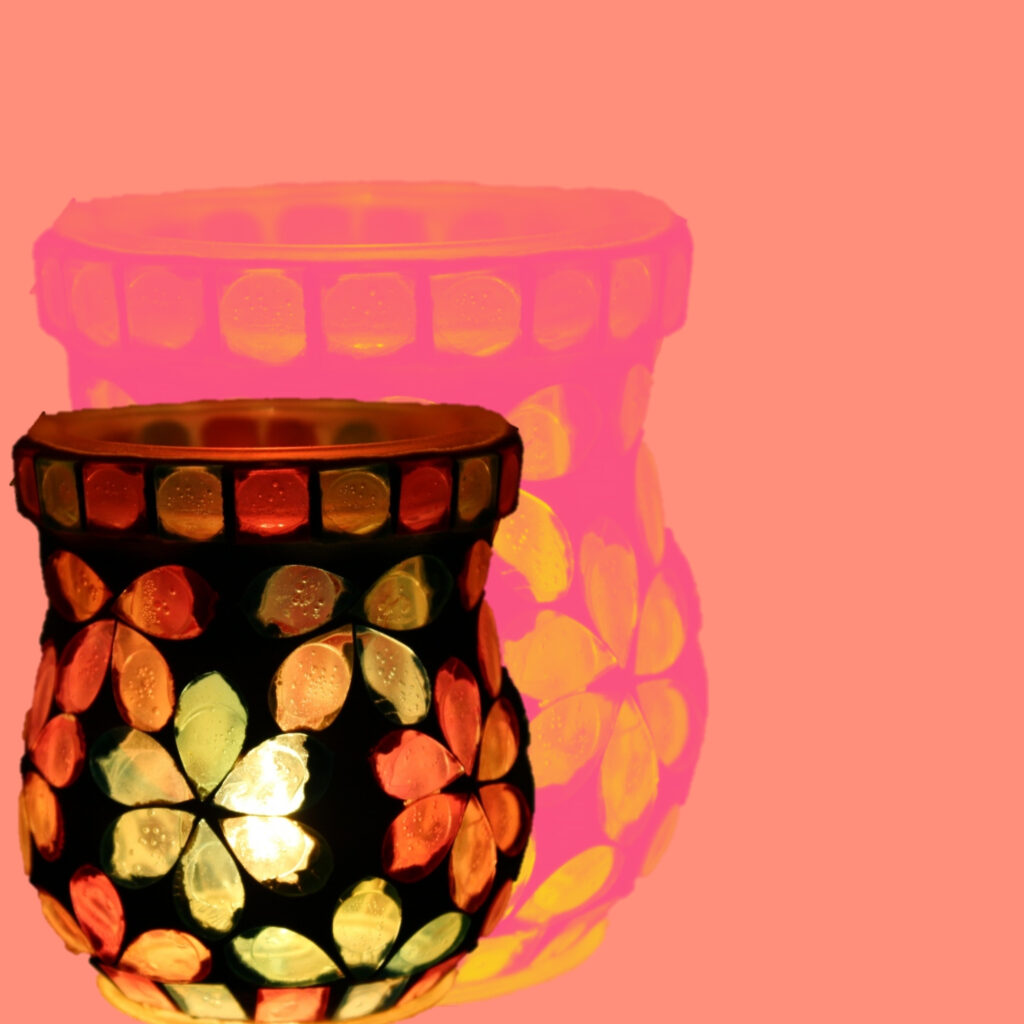

I know it sounds crazy, “Remove a background in Microsoft Word?” But it doesn’t do that bad. Not for social media type things at least…
The thing to keep in mind is Word creates documents / text files. So you can’t save it in Word. You want an image to be saved as an image file like JPG or PNG.
So for this digital art project, you might do this first in Word just to make the background transparent, and then tweak in Free Canva.
- Step 1: Open up a new blank document in Word
- Step 2: Insert your picture you want to use (Insert, Picture, From File)
- Step 3: Under “Picture format” on the top right side, click “Remove Background”
- Step 4: Tweak what you want to keep, what you want to discard, and save changes.
- Step 5: Note other things Word does to adjust an image. Some of their effects are ok.
- Step 6: Note: You can also right click the image, choose Format Picture, and you can add a glow or shadow or what not under the shape looking icon, or you can click the image icon, and manually adjust some settings such as Brightness and Saturation.
- Step 7: Right click on the picture, and click “Save Picture As” and then name it, choose Portable Network Graphics, and done.
Then you can upload a transparent background image to your free Canva.
There are many methods out there to remove background from photos and images, but these 3 methods are a great beginner method that works and gets the job done. But if you are a Photoshop user, I do suggest learning about all the options you have in Photoshop regularly by watching YouTube tutorials and trying out their methods. The more you know about what Photoshop is capable of, and how to pull it off, the more options you have when faced with varying images.
Pin It