Turn average stock photos into something more you. This digital art project & tutorial shows how to turn a photo into black and white and place it on any color you want.
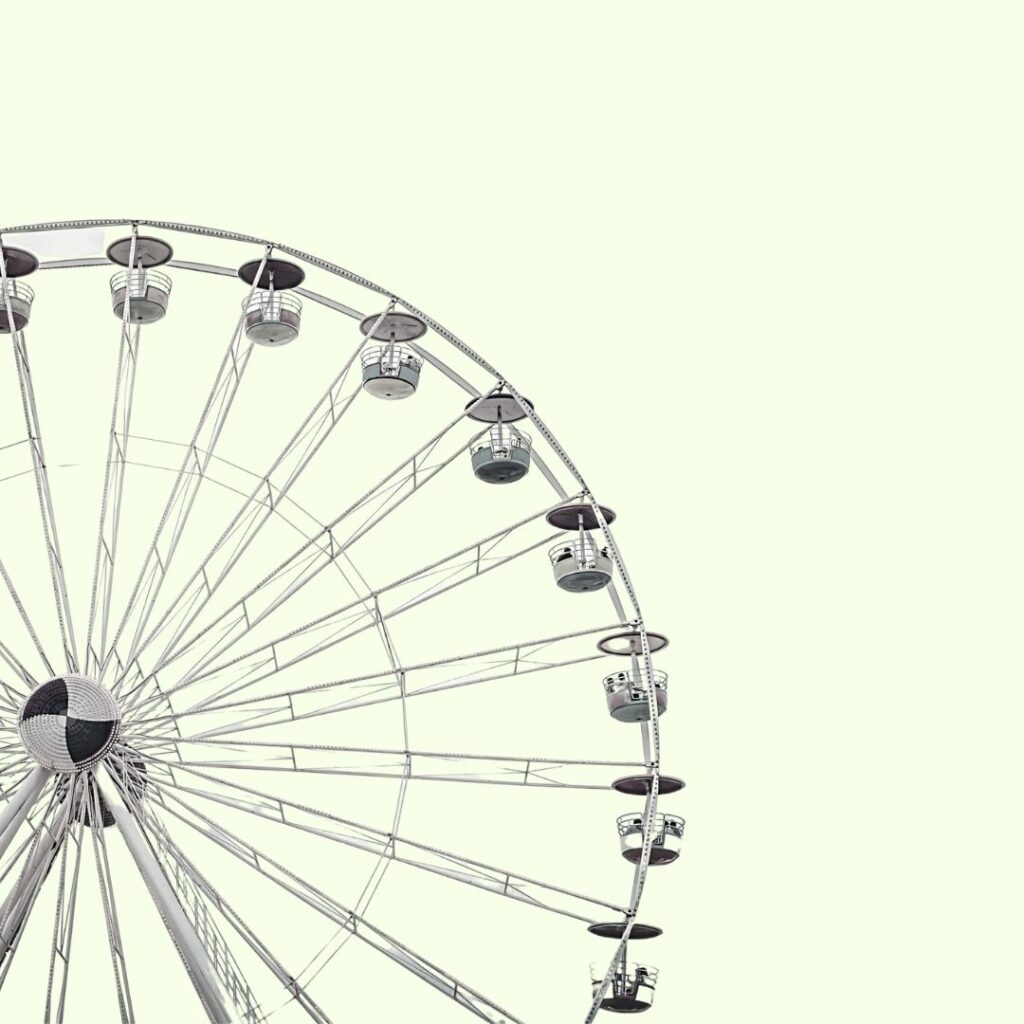

I’m going to try to do these once a month where we do a small art project together, whether it’s a digital art idea, or something offline like watercolor or photography.
This post may contain affiliate links. I may make a small commission if you purchase from my affiliate link at no extra cost to you. All my affiliations are hand-picked with the utmost sincerity. Read more about it here: Affiliate Disclosure
So I got this idea from my blog at michellegrewe.com because I wanted the images used in my writer’s portfolio to match my branded colors. Well, I played around and liked how this looked.

You can do this in most graphic design software. I did this in Canva Pro, and again in Photoshop. (both of those links are affiliate links). The reason it’s Canva Pro and not free Canva is because we utilize their “erase background” feature. I will show a potential hack to get around that if you’re not ready to pay for Pro.
Canva Pro

This digital art project is fairly easy and quick to do in Canva Pro.
Let’s get through the steps.
- Step 1: Open a thing
- Step 2: Choose a background color / theme color (click on the rainbow square when the background is selected).
- Step 3: Choose a stock photo
- Step 4: With the photo highlighted, click Effects, and then Background Remover, and remove the background
- Step 5: Then click Filter, and then Street
- Step 6: Then click Adjust, and play with brightness and contrast. I find high contrast to look the best, but that’s a matter of opinion.
- Step 7: Add text or other elements if you’d like.
To get the yellow “shadow” like I did above in the jaguar picture, click on the jaguar. Duplicate. Then effects, duotone (and I like duotone because it let’s you choose the colors). Then choose one, click the adjustment looking bars, choose your colors, position on page, and then right click, send to back. You can also adjust transparency to make it look like a shadow.
Photoshop

Photoshop is better if you want full control; unfortunately, it can be more time consuming. As far as digital art projects are concerned, you may consider attempting this in Photoshop just to learn the software better; however, if you’re planning to do a lot for social media, Canva might be faster.
The Photoshop Steps are as follows:
- Step 1: Create New Image
- Step 2: Double click the first layer, hit ok, and use Paint Bucket to dump a background color to that layer.
- Step 3: Create new layer, and copy a stock photo into it.
- Step 4: Because I’m kind of crazy, duplicate that layer. Turn off the eye to the original.
- Step 5: Choose copied layer, and remove the background (see below).
- Step 6: Duplicate that layer, turn off the original erased background, and then Image, then Adjustments… OR create an adjustment layer as a clipping mask — choose adjustments, black and white, make adjustments, and then line it up over the image to make adjustments to, and with the alt key down, click on the line between the two layers. You can also click on the white square on the right of the adjustment layer, and color in black what you don’t want adjusted.
- Step 7: You can also consider playing with the blend mode options of the adjustment layer (to the left of the opacity setting), such as here I have a black & white adjustment layer, but instead of blend mode normal, it’s in blend mode multiply.
Erase Background in Photoshop
There’s a billion and one ways to remove a background in Photoshop. Sometimes I manually try to erase around objects with an eraser brush tool, but most of the time, this is what I do…
- Step 1: Attempt using the magic wand to select around the object I want to keep.
- Step 2: Tweak using the Quick Selection Tool
- Step 3: Before hitting any delete button, I go to Select, and then Modify (in the older versions of Photoshop, it’s Refine Edge), and then choose Expand (if I selected the area around the object) or Contract (if I selected the object), set to 5px. Then I smooth at 5 pixels, and then also feather at 5 pixels. Adjust numbers as needed depending on the image you’re dealing with. If the background has a color that’s going to shade the edges a bit, you may want to contract/expand more like 15 pixels (to, let’s say, avoid getting a blue border around a yellow object for a pic of a flower and sky). If it selected well and you want to keep the edges as crisp and sharp as possible, then no feather.
- Step 4: Make sure you have the background unlocked if necessary, invert selection to the background you wanted deleted if necessary, and then hit the delete button on the keyboard.
- Step 5: You can consider other selection tool options. Sometimes the edge is crisp, I follow with a polygonal lasso tool (like in the pic above). You may or may not want to refine edge with it if you did previously.
- Remember, it doesn’t have to be perfect in most case scenarios.
- Step 6: Optional, clean up with an erase brush to get edges better, or to give blurred objects some transparency around the edges.
- Step 7: Double check your work by creating a new layer under your photo/object. Paint Bucket a dark color. See if there’s any smears or weird things that need erased, or lines that need tweaked. Then paint bucket over that with a bright color, and same thing. Then paint bucket with a light color, and same thing. If you want to be extra caution, also paint bucket white. Then you can delete or turn off that layer if you wish.
Make sure you save as a png if you want a transparent background. Of course, for this digital art project, we are putting it on a colorful background.
Remove Background Hack in MS Word


I know it sounds crazy, “Remove a background in Microsoft Word?” But it doesn’t do that bad. Not for social media type things at least…
The thing to keep in mind is Word creates documents / text files. So you can’t save it in Word. You want an image to be saved as an image file like JPG or PNG.
So for this digital art project, you might do this first in Word just to make the background transparent, and then tweak in Free Canva.
- Step 1: Open up a new blank document in Word
- Step 2: Insert your picture you want to use (Insert, Picture, From File)
- Step 3: Under “Picture format” on the top right side, click “Remove Background”
- Step 4: Tweak what you want to keep, what you want to discard, and save changes.
- Step 5: Note other things Word does to adjust an image. Some of their effects are ok.
- Step 6: Note: You can also right click the image, choose Format Picture, and you can add a glow or shadow or what not under the shape looking icon, or you can click the image icon, and manually adjust some settings such as Brightness and Saturation.
- Step 7: Right click on the picture, and click “Save Picture As” and then name it, choose Portable Network Graphics, and done.
Then you can upload a transparent background image to your free Canva.
So that’s one of many ideas you can do with stock photos to make it more you. This option allows you to use branded colors. You can also pile pngs on top of each other if you wanted, or make the png really small and duplicate it several times to make a pattern.
Post your project to Instagram with #swankystock so I can find it.
Join Swanky Stock’s Membership to get access to PNGs you don’t have to remove backgrounds for plus of course, stock photos.